
Wednesday, August 9, 2017
Thursday, August 13, 2015
A Note for You
Hi Everyone,
I am so happy to be part of this blog hop! My very dear friend and business partner, Ann Butler, is celebrating her birthday! Ann is not only an extremely talented designer, she also has multiple product lines with Unity Stamp Company, Clearsnap and Earth Safe Finishes.
Larissa Pittman, who runs Ann's design team, wanted to surprise her with this birthday hop so, she contacted the rest of the design team and a few of Ann's friends to join in on today's blog hop. The projects that you'll see were created using products from Ann's various product lines.
So, grab your favorite drink, put your feet up, and enjoy the fabulous projects that this talented group of ladies created in celebration of our friend's birthday!!!
Happy Birthday Ann!
Much Love,
Lis
A Note for You
 |
©Lisa Rojas 2015
Stampin’ Queen Creations
|
Materials
Ann Butler Faux Quilting 1" Doily Picnic Stamp Set by Unity Stamp Co.
Ann Butler Faux Quilting 1" Diamonds & Plaid Stamp Set by Unity Stamp Co.
Ann Butler Faux Quilting 1" Leaves All Over Stamp Set by Unity Stamp Co.
Alphabet stamp set
Pattern paper 6" x 6"
Cardboard 6" x 6"
Ann Butler ColorBox Crafter's Inkpads, Sunshine, Aquamarine, Limelight, Tangelo
ColorBox Archival Dye Inkpad, Wicked Black
Beacon Adhesives Zip Dry Paper Glue
Paper flowers, (3)
Various ribbons
Butterfly button (1)
Large clamp paperclip
Scissors
Heat tool
Glue gun
Pad of paper
Instructions
- Cut pattern paper and cardboard 6" x 6". Adhere pattern paper to cardboard with Zip Dry glue.
- Apply different color inkpads to stamps and stamp images around pattern paper. Use heat tool to dry inks. Note- See photo for placement if needed
- Stamp "Notes" on pattern paper with black inkpad. Ink edges of pattern paper with Aquamarine.
- Cut another piece of pattern paper 2"W x 3"H. Repeat step 2. Adhere pattern paper to large clamp.
- Tie ribbons around the handle of the large clamp. Adhere butterfly button with glue gun. Add flowers to pattern paper with glue gun.
- Attach pad of paper to pattern paper with large clamp.
Saturday, December 13, 2014
Ann Butler Designs & ETI Blog Hop

Hi Everyone!
Welcome to the Ann Butler Designs/ETI Blog Hop! Please visit each blog and leave a comment to be entered for the blog candy. YES, a comment on EACH blog gets you an entry for the BLOG CANDY shown below! Share the fun with your friends! We will Pick the winner on Saturday the 20th and announced on the Ann Butler Blog and ETI blog! Again, make sure and visit all the links and leave a comment.
Happy Hopping!
Lisa
Stampin' Queen Creations
Here is my project for the hop.
 |
© Lisa
Rojas, Stampin’
Queen Creations
|
Materials
Ann Butler's EZ-De's 1" Stamp Set- Rail Fence
Heart to Heart Stamp Set by Hot Off The Press


Please visit these blogs for the hop!

EnviroTex® Jewelry Resin
Ann Butler's Crafter's™ Ink by Clearsnap®- Limelight, Aquamarine
Cardstock- Aqua, Vanilla
Cardboard
Pattern Paper
Various Fibers
Metal Jewelry Frame
Metal Key
Metal Alphabet Charms
Key Ring
Zip Dry Paper Glue™by Beacon Adhesives®
Tools
Westcott ® Personal Paper Cutter
Heat Tool
Round Nose Pliers
Instructions
 |
1. For the card base, cut aqua cardstock 5 3/4"W x 11 1/4"H. Score at 4" and 9". Cut pattern paper 5 1/2"W x 3 3/4"H and adhere to bottom potion of the card base. Cut another piece of pattern paper 5 1/2"W x 2"H and adhere to the top of the card base.
2. Cut vanilla cardstock 5"W x 1 1/4"H. Using the limelight inkpad, stamp the cardstock with striped stamp. Cut vanilla cardstock 2"W x 1 1/4"H. Stamp the word image with the limelight inkpad. Cut 3 pieces of the vanilla cardstock 1 1/4"W x 1 1/4"H. Stamp the images with the aquamarine inkpad. Ink the edges of all of the cardstock papers.
3. Cut a piece of aqua cardstock 1/4" larger than each of the stamped images. Adhere the aqua cardstock to the stamped images with Zip Dry glue. Next, adhere all of the stamped images to the card base. Note: See picture for placement.
Instructions
For the Key Ring
1. Cut the pattern paper and cardboard 3/4"W x 2 3/4"H and adhere together with Zip Dry glue. Place the papers into the metal frame. Adhere the metal charms to the papers with glue.
2. Following the manufacturer's instructions for mixing the resin together. Once the resin is mixed together, pour the resin into the jewelry frame until it's full. Let the resin dry completely for a hard cure 48 hours. For more information on EnviroTex® Jewelry Resin and other products, please visit their website at
 |
© Lisa
Rojas, Stampin’
Queen Creations
|
 |
© Lisa
Rojas, Stampin’
Queen Creations
|
Lisa Rojas (You are Here)
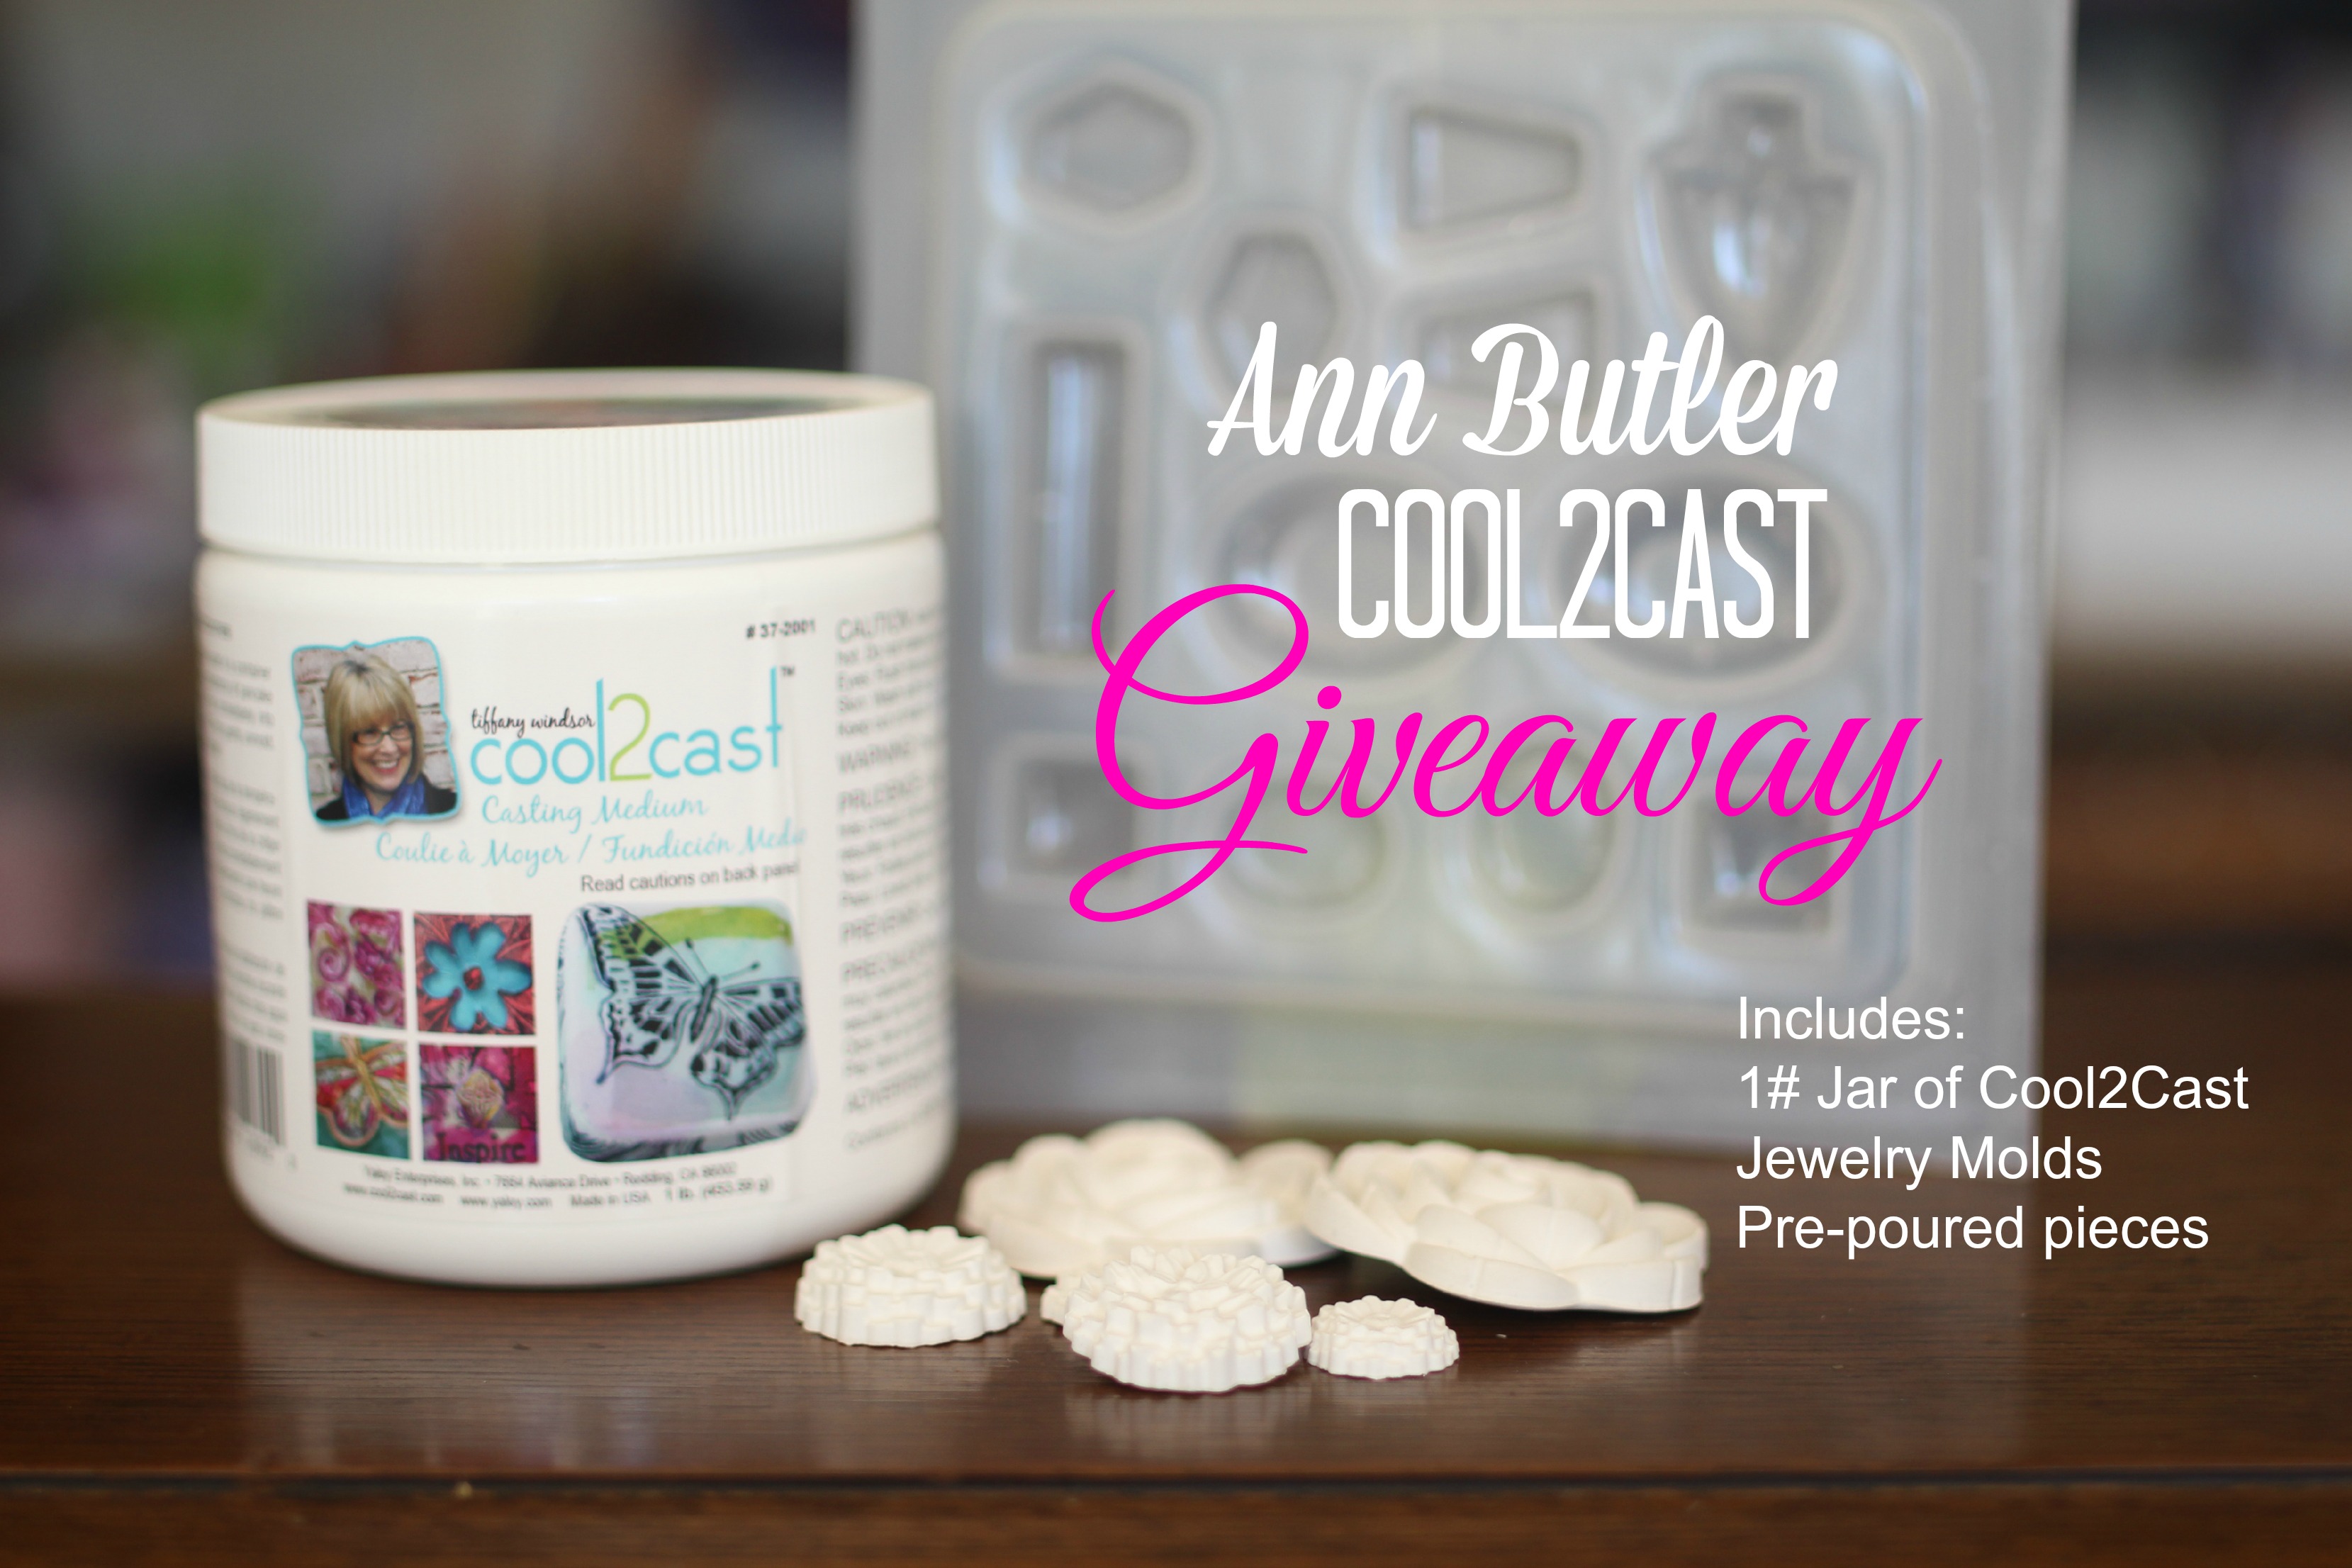
The giveaway includes:
EasyCast
Jewelry Resin
Mold
Resin Spray
2 colors
All 4 of the 1" Faux Quilting Stamp Sets
Friday, November 14, 2014
Book Review for Upcycled Jewelry

Hi Everyone,
I am so excited to share this new book, Upcycled Jewelry by Linda Peterson with you. I have known Linda for a number of years and she is one of the most talented designer I have ever met! So, when she asked me to be part of this hop, I couldn't say yes fast enough.
Her new book, Upcycled Jewelry, showcases her talent with pure perfection. Each page of the book has stunning photography and step by step instructions that are easy to read and follow allowing anyone that wants to recreate one of her projects to do so without feeling overwhelmed. In other words, you don't need to be an expert in jewelry making.
One of the things that Linda asked the designers that are participating in this book review blog hop, was to pick one project out of the book that we liked the most. That was not an easy task to complete. There are tons of projects in this book that I absolutely love, but I did narrow it down to two that I'm sharing today. The Zip It earrings on page 45 are one of the coolest project I have seen. They are fun & funky and I am definitely going to make a pair for myself and my daughter. The other project that I love is the Retro Studded Cuff bracelet on page 78. It is simply gorgeous and I couldn't believe that it was made from a rubber inner tube!
Upcycled Jewelry is a book with 128 pages of beautiful jewelry pieces and handbags that I would recommend for everyone to purchase as soon as you can. You won't be disappointed. As I said earlier, it really is pure perfection!
Thank you Linda for sharing your fabulous talent with the world and making it a better place with beautiful creations. You really are one of a kind!
Thank you for joining me. Until next time...
Crafty hugs,
Lisa
***Now for the fun details***
To see more of Linda's project please visit her website at

©2014
CicoBooks

©2014
CicoBooks
To see the other Designer's Projects
Click on the links below or visit Linda's website at
Wednesday, October 29, 2014
New Cool2Cast Book
Hi Everyone,
As one of the editors at of Bella Crafts Publishing I am very excited to announce the launch of our very first book collaboration with the talented Tiffany Windsor. Tiffany is the creative genius behind Cool2Craft and the founder of Cool2Cast, a brand new craft product on which the new book Cool2Cast, is based. Cool2Cast is filled with tips, techniques and ideas for jewelry, home décor and other embellishments. In this new book, you will find fabulous project ideas using Cool2Cast, as well as a gorgeous gallery of project images to inspire you.

As one of the editors at of Bella Crafts Publishing I am very excited to announce the launch of our very first book collaboration with the talented Tiffany Windsor. Tiffany is the creative genius behind Cool2Craft and the founder of Cool2Cast, a brand new craft product on which the new book Cool2Cast, is based. Cool2Cast is filled with tips, techniques and ideas for jewelry, home décor and other embellishments. In this new book, you will find fabulous project ideas using Cool2Cast, as well as a gorgeous gallery of project images to inspire you.
Starting today through November 7th, Bella Crafts Publishing will be hosting a blog hop to promote Tiffany’s new Cool2Cast book. The following is a list of participants for our blog hop with their names and websites. All you need to do is click on the participant’s website and that will take you directly to their website where you will find more information about this fabulous new book! And if that isn't exciting enough, Tiffany is hosting a huge giveaway on her website that you're not going to want to miss! So, be sure to pop on over to her website at http://www.cool2craft.com
Blog Participants
October 29th- Tiffany Windsor www.cool2craft.com
October 29th- Marjolaine Walker www.marjolainewalker.com
October 30th- Dana Joy www.gotjoycreations.blogspot.com
October 31st- Laura Bray www.laurabraydesigns.com
November 1st- Roberta Birnbaum http://decorablesart.com
November 2nd- Vishu Reberholt http://fabnsassy.blogspot.com
November 3rd- Steph Ackerman http://stephaniescraps.blogspot.com
November 3rd- Marjie Kemper http://www.marjiekemper.com
November 3rd- Linda Peterson http://lindapetersondesigns.com
November 4th- Larissa Pittman www.muffinsandlace.com
November 5th- Kristi Parker www.kristiscreativecafe.blogspot.com
November 6th- Beth Watson www.bwdesignstudio.blogspot.com
November 6th- Rita Barakat www.ritabarakat.com
November 6th- Susan Brown http://www.sbartist.com
November 6th- Anita Scroggins http://theflamingochronicals.com
November 7th- Lisa Fulmer www.lisalizalou.com
November 7th- Carmen Flores Tanis http://florestanisstudio.com
November 7th- Suzann Sladcik Wilson www.beadphoria.wordpress.com
November 7th- Madeline Faiella http://www.madelinedesigns.typepad.com
To purchase the Cool2Cast book please visit our website
Thursday, July 24, 2014
Ann Butler Designs & Cool2Cast Blog Hop

Hi Everyone,
I am so excited today to be part of this fabulous new blog hop! The products that we will be showcasing today are created by two of my favorite people, Tiffany Windsor from Cool2Craft and my business partner, Ann Butler from Ann Butler Designs.
There are 13 very talented designers participating in this hop to show you 13 different creative ideas for Tiffany's new Cool2Cast casting medium and Ann's line of stamps, inkpads and iridescent paints. So, grab yourself your favorite drink and hop on through for a whole lot of creative fun!
A Little Bit of Sunshine
 |
© Lisa
Rojas, Stampin’
Queen Creations
|
Cardstock- Aqua & White
Mulberry Paper- Aqua
Cardboard
Crystal Stickers
Clear Spray Sealer
Paintbrush
Heat Tool
Instructions

Using limelight inkpad, stamp image around
white cardstock.

Repeat stamped image over limelight
with aquamarine inkpad, moving the
stamp to create the two-tone effect.

Dry the ink with the heat tool.

Cut stamped image out with a ruler
and exacto knife.

Adhere papers together with the
Zip Dry glue.

Apply the crystal stickers. Mix and pour
the casting medium into the mold following
the manufacturer's instructions. Once piece
is dry, paint with iridescent paints. Let dry.
Spray with clear sealer. Let dry.

Adhere the finished cast piece and the
flowers with Zip Dry glue.
 |
© Lisa
Rojas, Stampin’
Queen Creations
|
Tiffany has put together an awesome prize package of Cool2Cast items….to enter simply leave a comment here. For more chances to win and to see other great projects using Cool2Cast and Ann Butler Designs products check out the rest of the blog hop below and leave a comment for each of them.
Deadline for entering the giveaway is August 8th, 2014 at 11:59 pm.
Don't forget to stop at the following blogs for more wonderful inspiration!!!
Wednesday, April 9, 2014
Bella Crafts Google Hangout Video
Hi Everyone,

Every Wednesday at 1:00pm EST the editors of Bella Crafts Quarterly host a Hangout and on today's hangout, we answered some of your craft questions. I thought I'd share the video with you in case you missed it!
Thank you for joining me. Until next time...
Crafty Hugs,
Lisa
Subscribe to:
Comments (Atom)